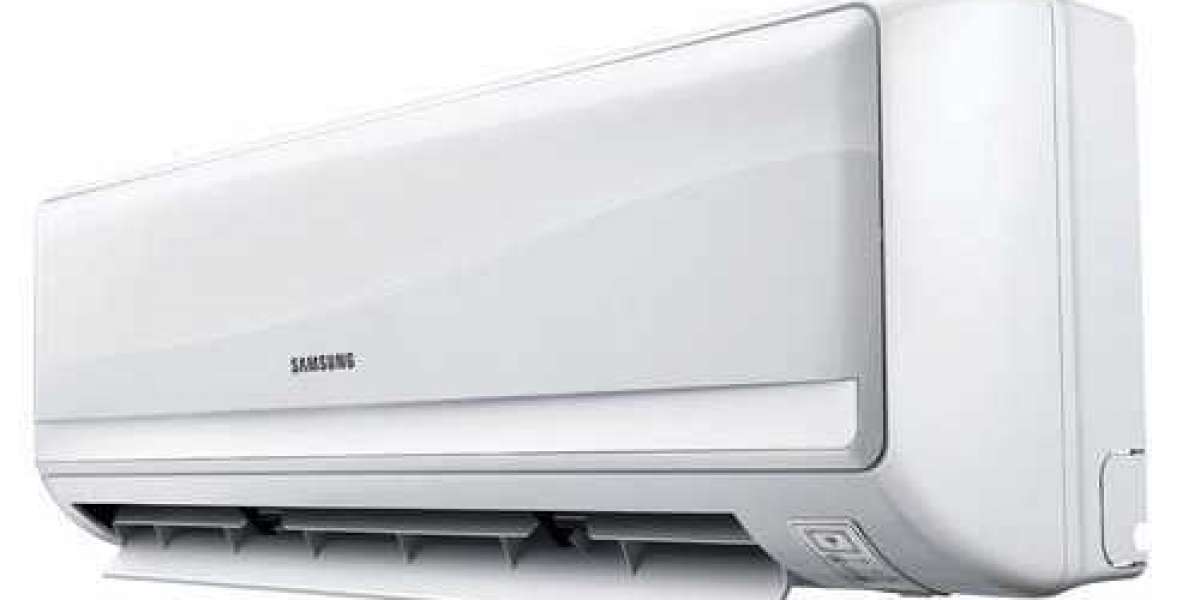
Split system air purifiers are an ideal alternative for making sure your home stays relaxed and comfortable throughout the summertime. They're quieter, simpler to install, and are more efficient as compared to central purifying. This kind of air purifier is ductless, which means all you need to do is put your cooling device inside, and the condenser and compressor system outside, and then run pipes and a power cable between the two systems. If you aren't looking to engage an expert to install a split-system air purifier and you've got some experience and electrical run and piping, you can set up the system yourself. Each air purifying device is unique to the person who built it. However, the process of installation is similar to that of an expert.
Setting up the Indoor System
Choose a clean, unobstructed location within your wall to place an indoor unit. You'll have to make a hole in the wall to bring the pipes of your indoor unit to the outdoor one, so make sure that the location you choose allows you to do that. Select a place that is free of direct sun and heat sources for the most effective outcomes. The system should be placed 7 feet above the floor, and make sure that there are 7 to 11 inches of clear space around the Midea ac price in Bangladesh entire length to permit for the proper flow of air.
Find a spot with studs to make sure the wall is sturdy enough to support the load on the installation.
Set up the unit at a minimum of 3.3 feet from the antennas and power connecting lines utilized for television or home security systems, radio, and intercoms, as well as telephones. The electrical noise generated by these sources could create issues with the operation of the air conditioner price in Bangladesh.
Beware of places where gas could leak or in areas places where sulfur or oil mist occurs.
The majority of these systems come with remote controls that allow you can quickly turn them on or off and alter the temperature, even when they're hung high on the wall.
Install the plate to the wall's interior.
The mounting plate should be held against the wall you intend to place the system indoors. Utilize a level to ensure it's equally level both vertically and horizontally. Make use of a pencil to mark the location where the screws will go. Remove the plate and drill a hole in the wall where the screws will be.
Place the plate in a way that is in line with the holes. Then, insert anchors of plastic into the holes and anchor them to the wall using tapping screws.
Make a few holes through the wall to ensure you can run the pipes from outside.
Mark the middle of the hole inside your mounting plate. Utilize a keyhole saw or a drill equipped with an attachment to cut holes to make a circular in the wall, which slopes downwards towards the ground to allow for adequate drainage. Check for wires or pipes behind the wall before making or drilling the holes.
Verify the electrical connections to the system inside.
Lift the air cleaner's front panel and take off the cover. Ensure that the cable wires connect to those screw connections, and ensure that the wiring corresponds to the diagram included with the unit.
The cables and pipes must be run across the opening in your wall before connecting these to your system.
Attach the cables, copper pipe, and drain pipe with electrical tape. The drain pipe should be placed on the lower part to ensure that there is no obstruction to the circulation of the water. According to the instructions in the manual, the lines and cables should be run through the wall's hole and then attached to the spots designated in the indoor system.
Each line is pre-insulated, which means you don't need to think about adding additional insulation.
Try your best to limit the amount the cables and pipes are bent to ensure that the system is in good shape?
Be sure that the drainpipe can allow water to drain to the right area. Refer to the instruction manual in the kit for more data.
Attach an indoor device to your mounting plate.
To mount the cleaner to the wall, connect the female connections to the rear of the unit and the female contacts of the mounting plate, and press the mounting plate firmly to fix the team in position. It is essential to ensure that the system is tilted in a few degrees to ensure that water can flow through the drainage pipe. It might be helpful to get a person to help you hold the system while you connect the lines.
Installing the Outdoor Condenser
Place the outdoor system away from traffic-heavy hot zones. Find the hole you made through the plate used to mount the plan for the internal design. Put the outside system in the space of 48 feet so that the cable and piping can be easily attached. Please choose a location with at least 10 inches of room around its area to ensure that the system is functioning correctly. If you can, pick a place in the shade that's protected from wind and as well as to dirt and other traffic to ensure your system operates in the best way possible. Check that no radio or television antenna is in the vicinity of 9 meters of your condenser outside.
Verify the wiring for electricity within the outdoor system.
Remove the cover from the condenser. Check the wiring diagram for the system in the instruction manual, and ensure that the wires are connected in the manner the graph indicates. Make any necessary adjustments. Secure the cables using the cable clamp, then change the cap.
Connect the cable and piping to the outdoor system.
According to the instructions manual, utilize flare nuts to fix the few copper pipes that are connected from inside the system to the external system. Next, attach the power cord through the system in its indoor location to an outdoor unit too. Then, connect the power source to an outlet that is designated. If needed, reduce your copper pipe to remove any excess.
Completing the Project
Attach the pipe to the wall using clamps.
To ensure that the cables and pipes don't move around or get disconnected, Connect the wires to the outside wall of your home with the clamps provided with the kit. Follow the instructions in the instruction manual to ensure that the clamps are placed in a proper space.
Fill the hole in the wall with the expanding foam.
Spread expanding foam in the hole you made to connect the cable and pipes into the wall. Make sure that the gap is closed to stop hot air or insects from entering.
Start the system, and relax in the cool air!
The only thing left to complete is to begin the air purifier that you can start by using the indoor system. It will take about just a few minutes for the cool, fresh air to begin to flow into your home. Again, it will help to refer to the manual for instructions if you encounter difficulties running your new Samsung ac price in Bangladesh.
Also read more,
How To Obtain The Greatest From Your Air Purifier's Tips
Tag: